
Alright, confession time — I’m a serial last-minute decorator. Every December, I swear I’ll start crafting early… and every December 20th, I’m still gluing things together while “Jingle Bell Rock” plays in the background. 😅
If that sounds familiar, you’re in the right place. Today, I’m sharing my favorite DIY Christmas ornaments that you can make in under 30 minutes — and yes, I actually timed them. These are quick, affordable, and ridiculously cute. No perfection required — just creativity and maybe a little glitter.
Ready? Grab some cocoa, put on your favorite holiday playlist, and let’s make your tree shine! 🎄
Why Make Your Own Christmas Ornaments?
Before we jump into the fun part (aka crafting), let’s talk about why DIY ornaments are totally worth the effort.
1. They’re Personal
Homemade ornaments tell your story. Whether it’s a cinnamon star that smells like cookies or a photo ornament of your pup in a Santa hat, these decorations actually mean something.
2. They Save You Money
Have you seen the prices of “custom ornaments” lately? You can make 10 of your own for the price of one fancy store-bought one.
3. They’re Fun & Fast
You don’t need fancy tools or hours of your life. Most of these projects use simple supplies you already have — glue, ribbon, paper, twine, and maybe a sprinkle of glitter (or a lot, if you’re me).
Quick Tip Before You Start
Set up a little crafting station with a tray, newspaper, or parchment paper underneath. You’ll save yourself from scrubbing glitter off your table until Easter. (Learned that one the hard way.)
1. Cinnamon Stick Star Ornaments
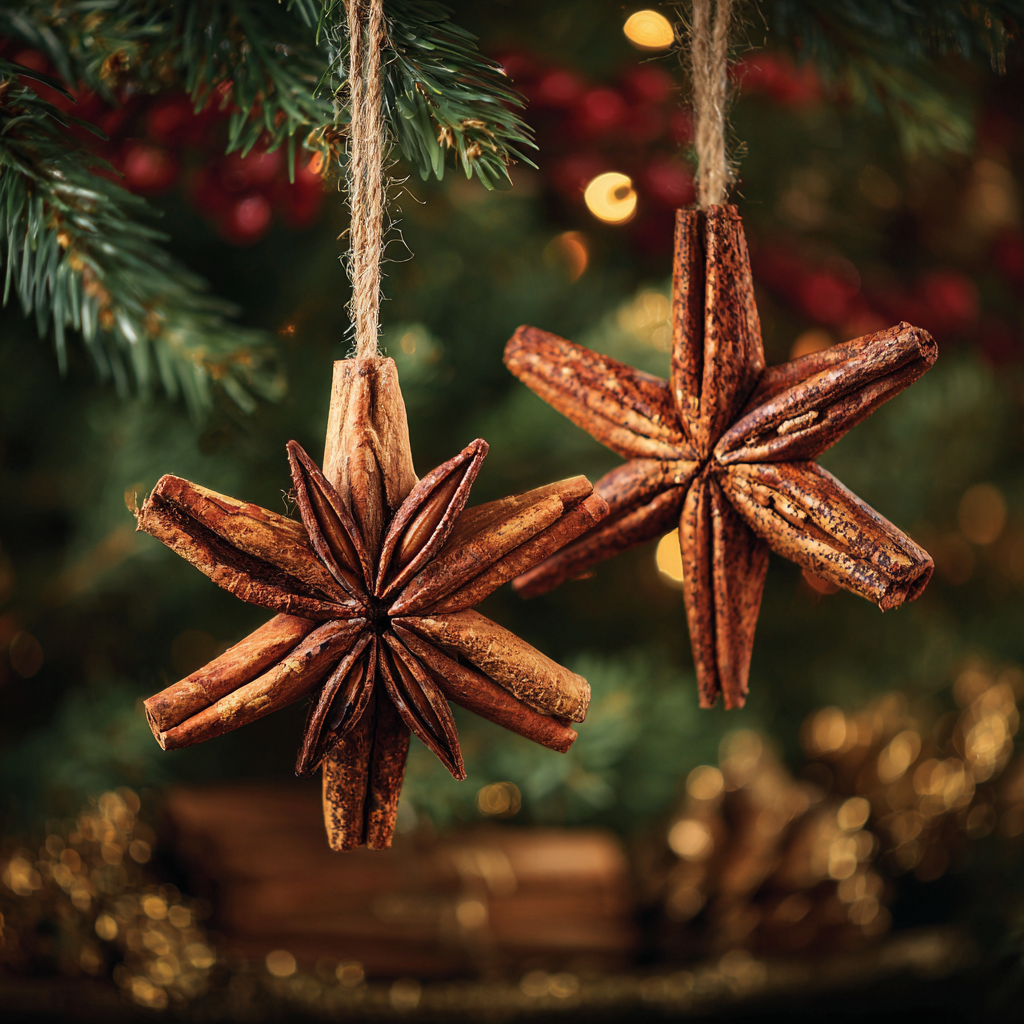
Time: ~15 minutes
Vibe: Rustic, cozy, smells like heaven
All you need are five cinnamon sticks, hot glue, and a little twine or ribbon.
How to Make It:
- Arrange five cinnamon sticks into a star shape.
- Glue the ends where they touch.
- Tie a loop of twine at the top for hanging.
- Add a bow or small pine sprig if you’re feeling fancy.
Why It’s Awesome: It smells amazing and makes your whole tree feel warm and homey — like a Christmas cabin.
2. Clear Ornament Snow Globes
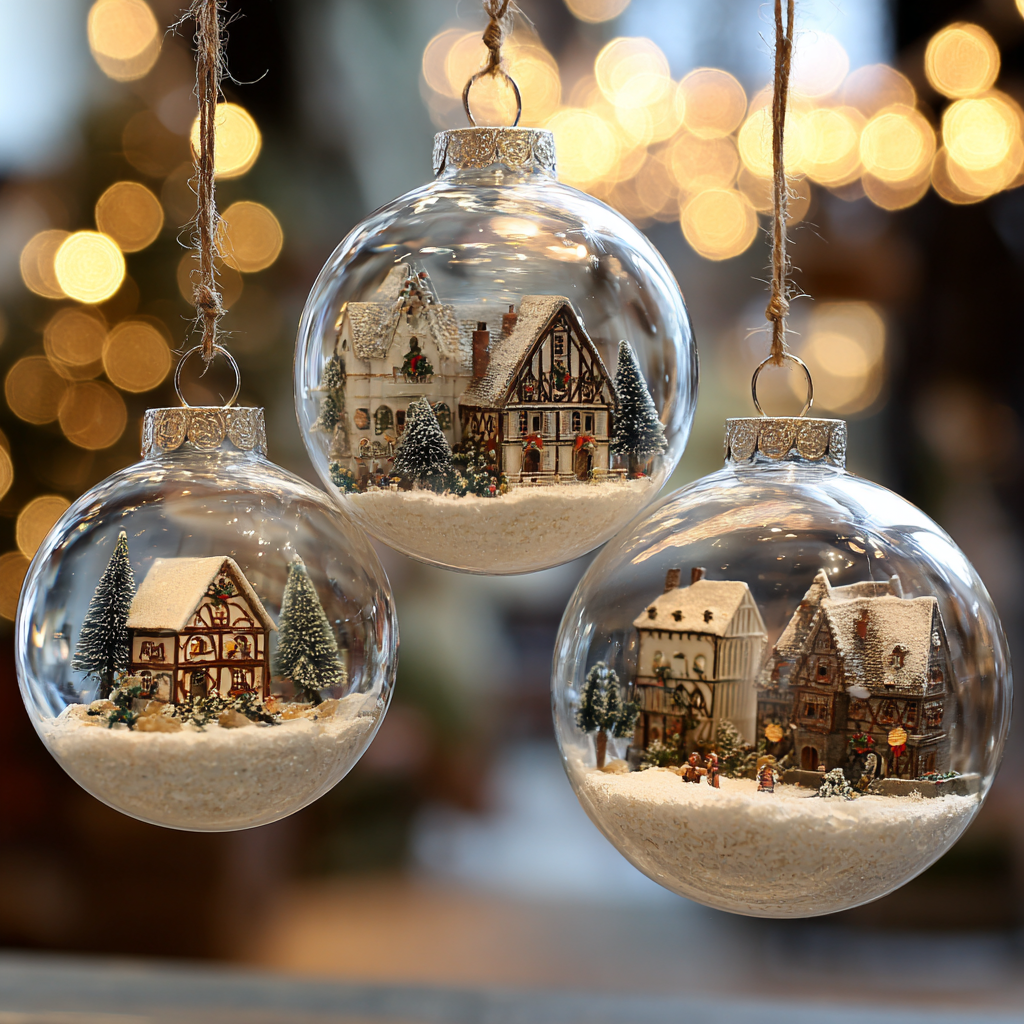
Time: ~20 minutes
Vibe: Elegant with minimal effort
Grab a pack of clear plastic ornaments (they pop open in half), fake snow or Epsom salt, and small miniatures like trees or reindeer.
How to Make It:
- Fill the bottom half with snow or salt.
- Add a tiny tree or figurine.
- Snap the ornament closed and tie with ribbon.
Pro tip: Stick to one color scheme (like gold & white or red & silver) so your tree looks cohesive instead of “craft day chaos.”
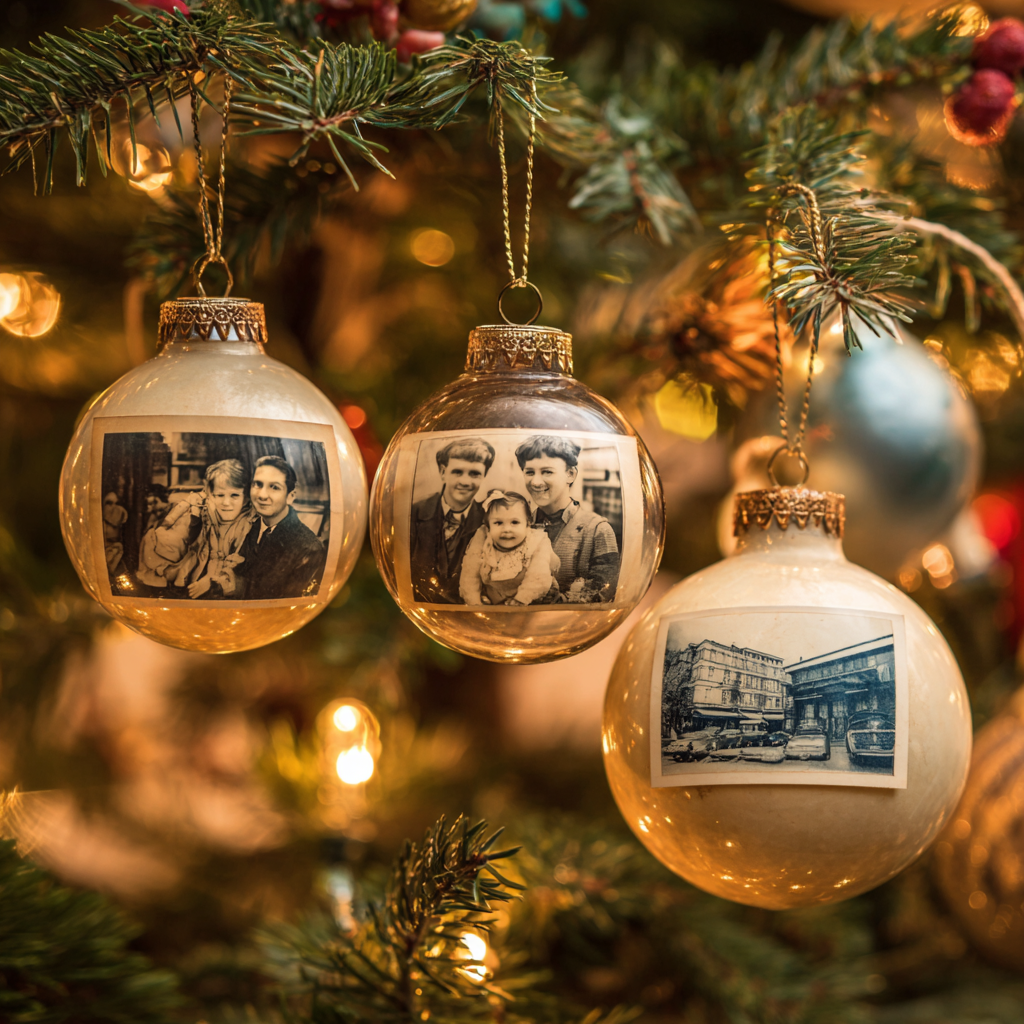
3. Photo Memory Ornaments
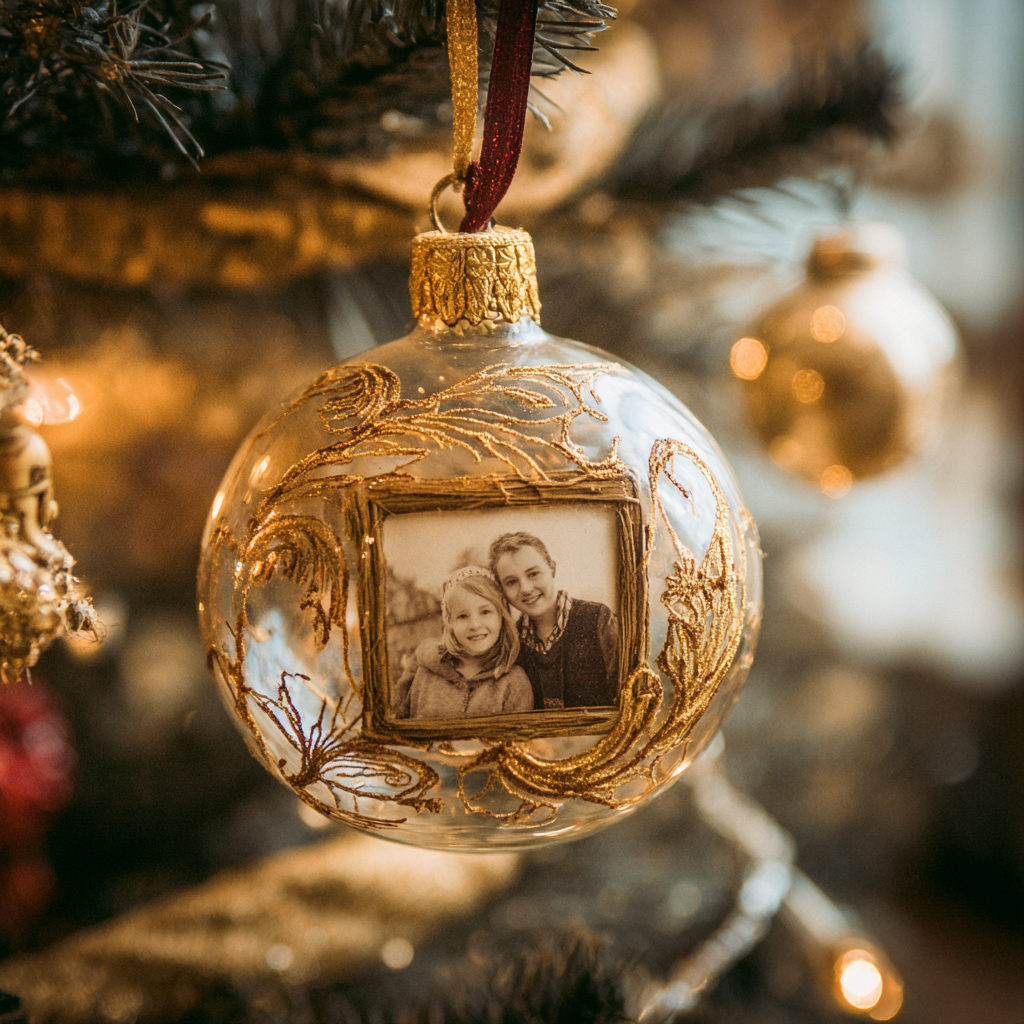
Time: ~10 minutes
Vibe: Sentimental & heartwarming
Nothing hits the holiday feels like ornaments featuring your favorite people (or pets — no judgment).
How to Make It:
- Print mini versions of your favorite photos.
- Cut them into circles to fit inside clear ornaments or glue them onto wooden discs.
- Add glitter, ribbon, or a small date tag.
Every year when you hang them, it’s like opening a scrapbook on your tree. 💕
4. Dried Orange Slice Ornaments
Time: 25 minutes (plus drying time if you’re making fresh slices)
Vibe: Natural, rustic, smells like Christmas morning
These look gorgeous on minimalist or boho-style trees.
How to Make It:
- Slice oranges thinly.
- Bake at 200°F (90°C) for 2–3 hours until dried, or use pre-dried slices if you’re short on time.
- Poke a hole at the top and tie twine through.
Add a cinnamon stick or sprig of greenery if you want that extra rustic flair.
5. Glitter-Dipped Baubles
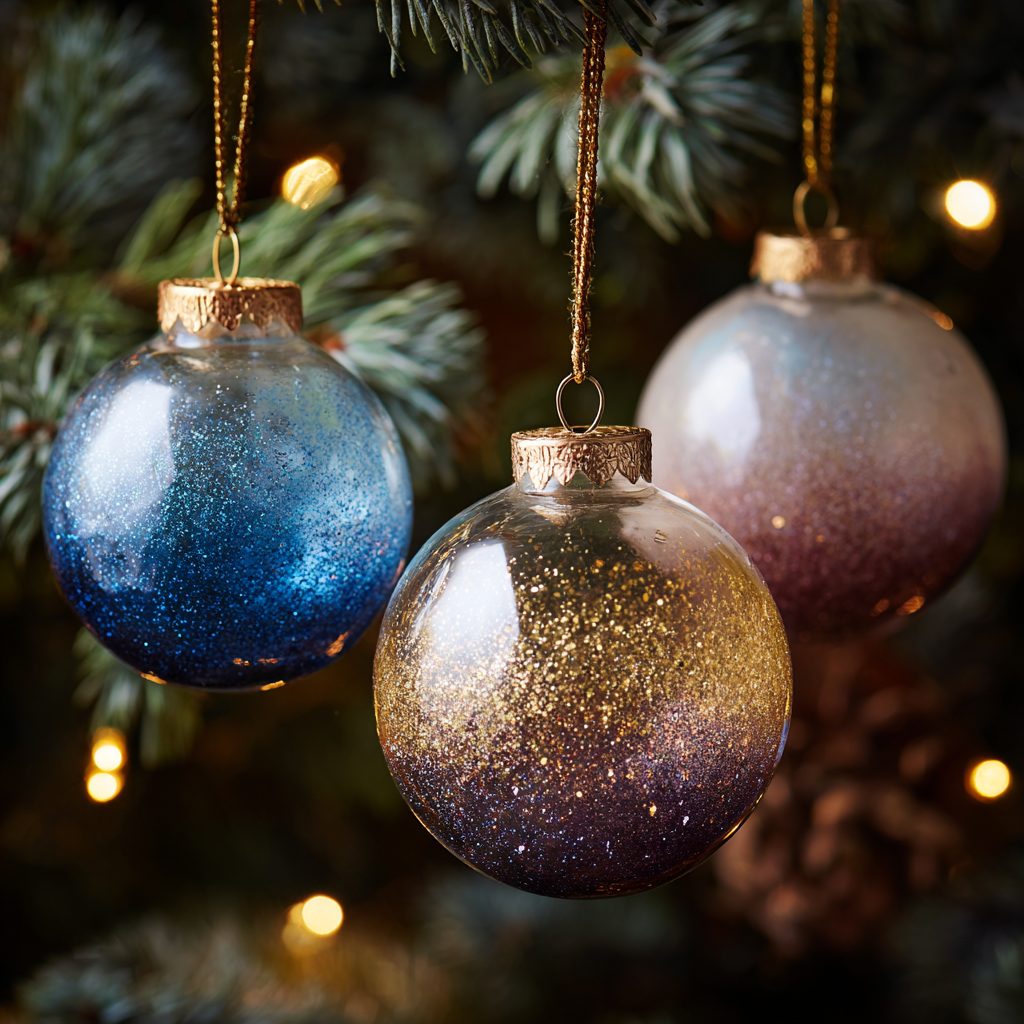
Time: 10 minutes
Vibe: Glam and shiny (for those of us who think sparkle is a lifestyle)
You’ll need plain ornaments, Mod Podge (or any craft glue), and fine glitter.
How to Make It:
- Paint glue on the bottom half of the ornament.
- Sprinkle glitter generously. (Like, don’t be shy.)
- Let dry for 10–15 minutes and hang with a ribbon.
FYI: Seal with hairspray or a clear coat so you don’t trail glitter across your entire house. Unless you like that look. 😉
6. Mason Jar Lid Ornaments

Time: 20 minutes
Vibe: Vintage farmhouse
Got a few mason jar lids lying around? Perfect. You’ll also need fabric scraps or old holiday cards.
How to Make It:
- Cut a circle of fabric or card slightly larger than the lid insert.
- Place it inside the ring and hot glue the edges.
- Add ribbon or twine to hang.
You can even personalize them with family initials or small wooden letters from the craft store.
7. Salt Dough Ornaments
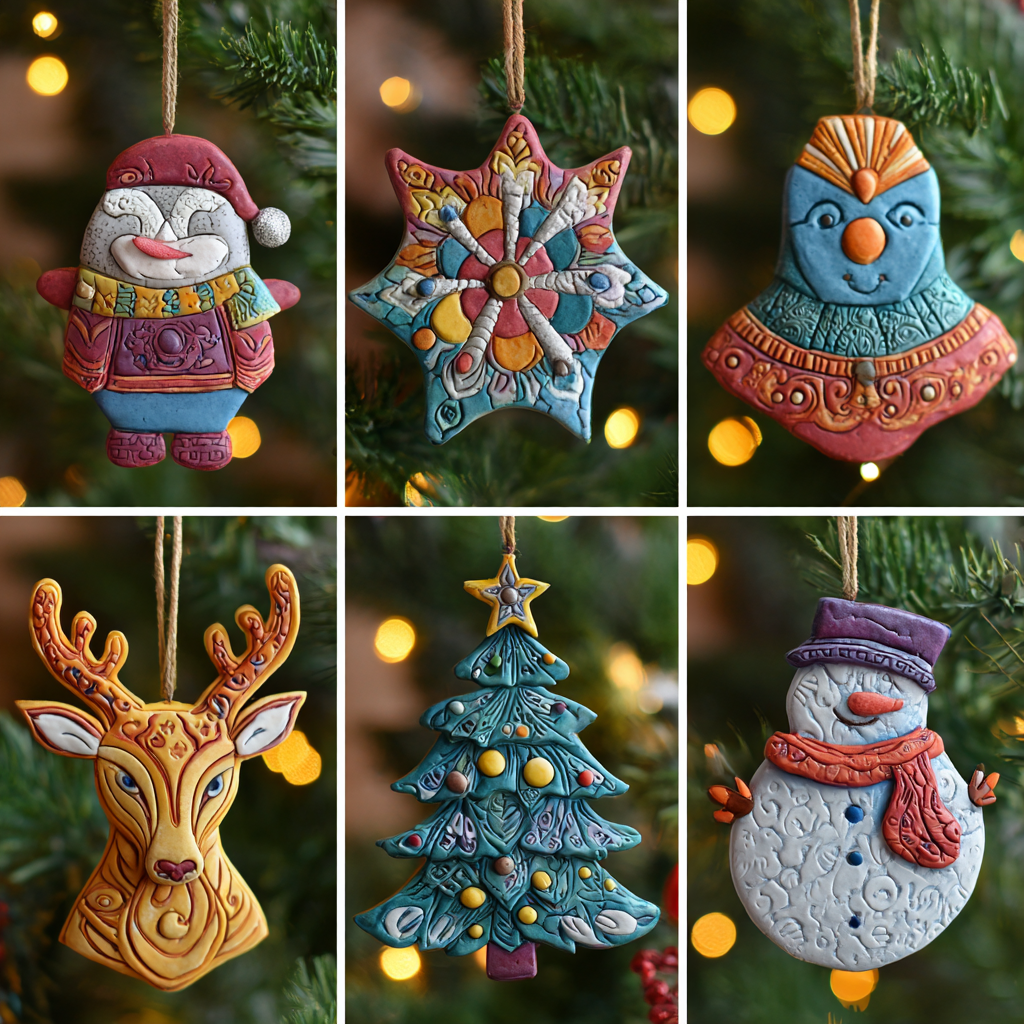
Time: 25 minutes (plus baking time)
Vibe: Classic, customizable, perfect for kids
You’ve probably made these as a kid, and they never go out of style.
Ingredients:
- 2 cups flour
- 1 cup salt
- 1 cup warm water
How to Make It:
- Mix ingredients and roll dough ¼ inch thick.
- Cut with cookie cutters (stars, trees, hearts — whatever makes you happy).
- Use a straw to poke a hole at the top.
- Bake at 200°F (90°C) for about 2 hours until hardened.
- Paint, decorate, or leave natural for that farmhouse look.
Hang them with string, and you’ve got handmade heirlooms that’ll last for years.
8. Button Tree Ornaments
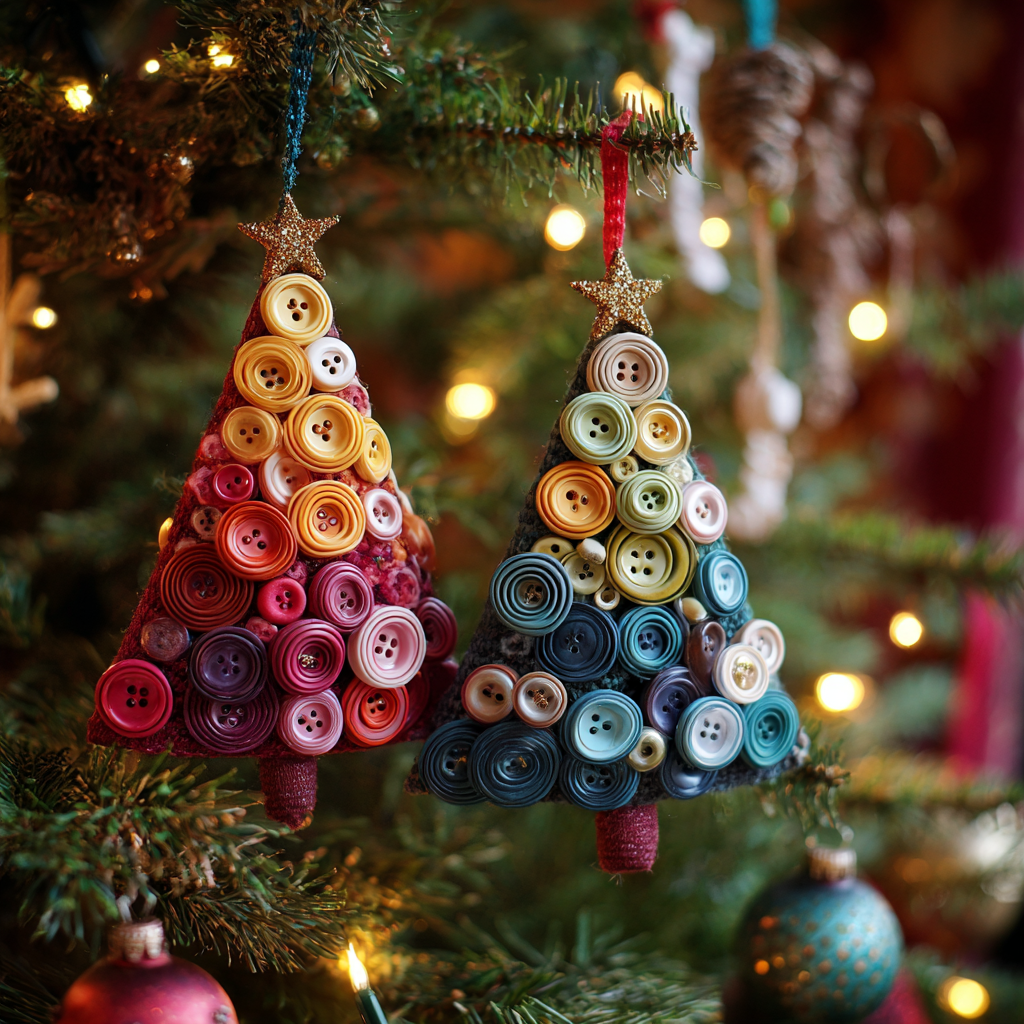
Time: 15 minutes
Vibe: Cute and crafty
If you have a jar of random buttons (and we all do), this one’s for you.
How to Make It:
- Sort buttons by size and color.
- Stack them from largest to smallest to make a tree shape.
- Thread them onto wire or twine and tie off at the top.
- Add a tiny star bead or button for the topper.
It’s a great project for kids — or for adults pretending to be kids. 😉
9. Wooden Bead Snowmen
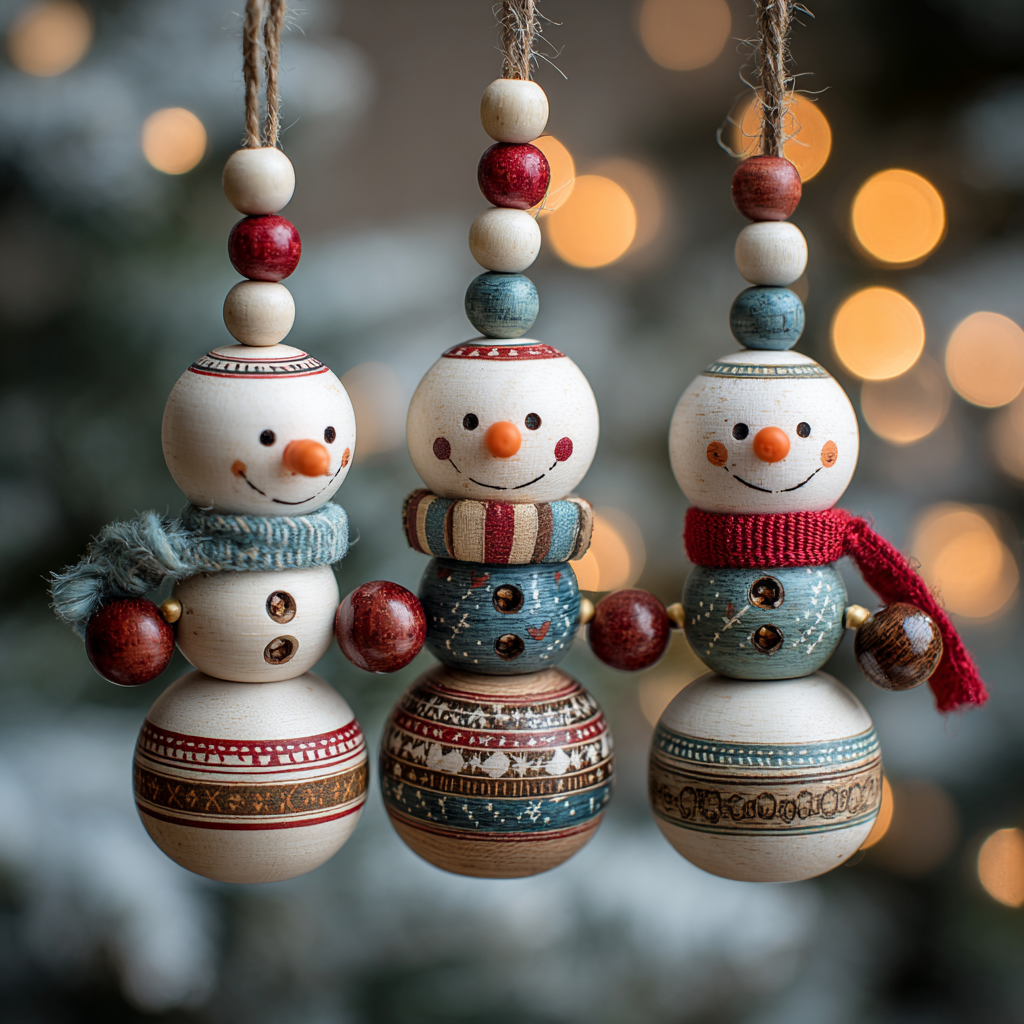
Time: 20 minutes
Vibe: Minimalist & modern
You’ll need three wooden beads in small, medium, and large sizes.
How to Make It:
- Thread them onto a piece of string from big to small.
- Paint or draw a face on the smallest bead.
- Add a felt scarf and hat (tiny pom-poms work perfectly).
They look adorable hanging on the tree or tied to gifts as extra décor.
10. Scrabble Tile Messages
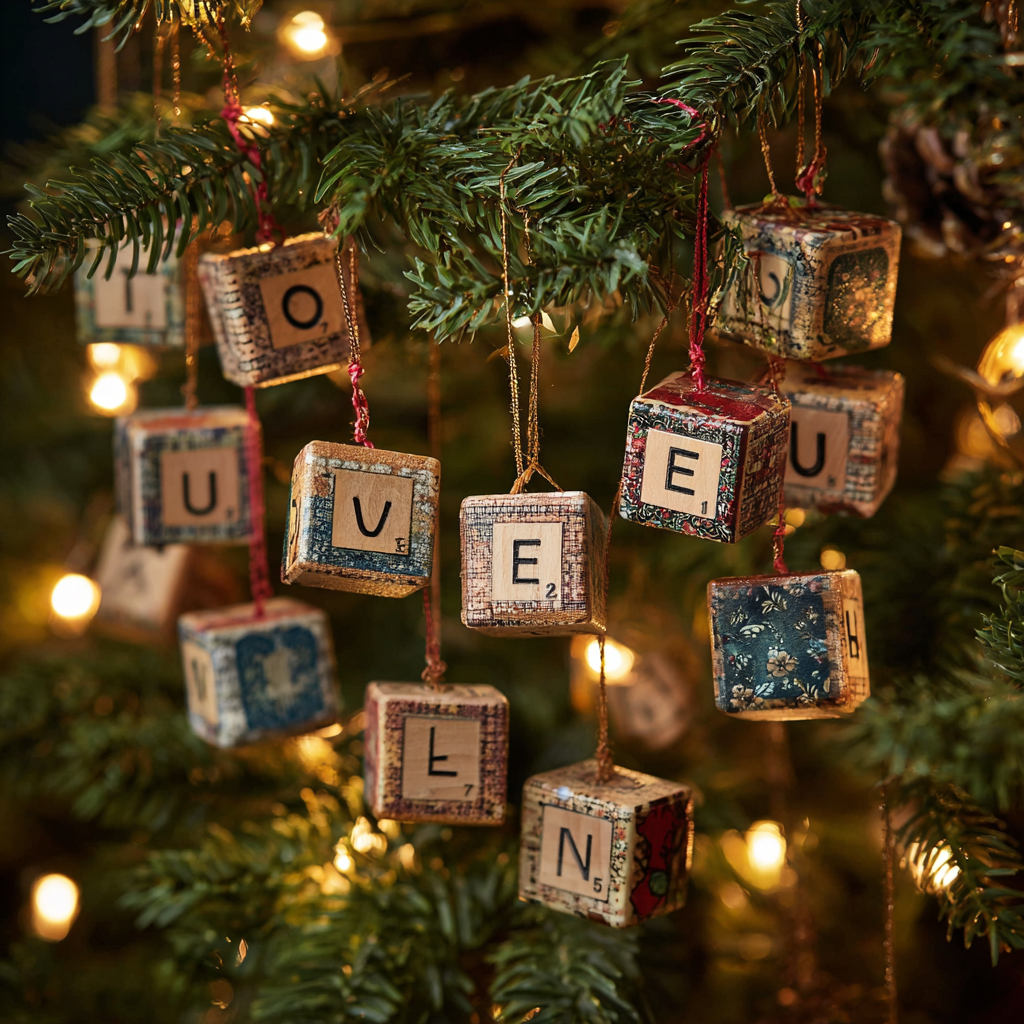
Time: 10 minutes
Vibe: Playful, wordy, personal
Have an old Scrabble set? (Or grab some letter tiles online — they’re cheap.)
How to Make It:
- Spell out festive words like “JOY,” “LOVE,” or “MERRY.”
- Glue tiles to a popsicle stick or ribbon.
- Add a bow, and you’re done!
You can even make name ornaments for each family member — they double as cute gift tags.
Extra Tips for Fast Ornament Success
- Batch your materials: Cut, glue, or paint in groups — you’ll finish faster.
- Use what you have: Scrap fabric, old cards, leftover ribbon — free décor!
- Keep it cohesive: Stick to 2–3 main colors so your tree doesn’t look like a craft explosion.
- Make it a family night: Throw on a Christmas movie, make cocoa, and craft together.
My Personal Ornament-Making Routine
Last Christmas, I hosted a “30-minute ornament challenge” with friends. We each had to make as many ornaments as we could in half an hour. I ended up with:
- 3 cinnamon stars
- 2 glitter baubles
- 2 photo ornaments (one featuring my dog in an elf hat 😂)
In just one episode of The Office, I basically filled half my tree — and had a blast doing it.
Moral of the story? You don’t need a full weekend to make something special. You just need 30 minutes, a glue gun, and maybe a snack break.
Safety & Cleanup (The Not-So-Fun but Super Important Bit)
Let’s be real — glue guns and glitter can be chaos. Here’s how to keep things smooth:
- Work on a covered surface (trust me, you’ll thank me later).
- Supervise kids with hot glue or scissors.
- Store ornaments safely — wrap delicate ones in tissue or bubble wrap.
- Clean glitter with a lint roller instead of a vacuum. (You’ll never get it all otherwise.)
Final Thoughts: 30 Minutes to Christmas Magic
See? You don’t need a whole weekend or craft room to make adorable, meaningful ornaments. In just half an hour, you can create something that brings personality, warmth, and a little sparkle to your holiday tree.
So next time you’ve got 30 spare minutes — between wrapping gifts, baking cookies, or binge-watching Elf — grab your glue gun and make something festive.
Because the best ornaments aren’t the ones you buy… they’re the ones you make. ❤️
Now go grab that hot glue gun, put on your reindeer slippers, and get crafting — your tree deserves it!